Table of Contents
Introduction
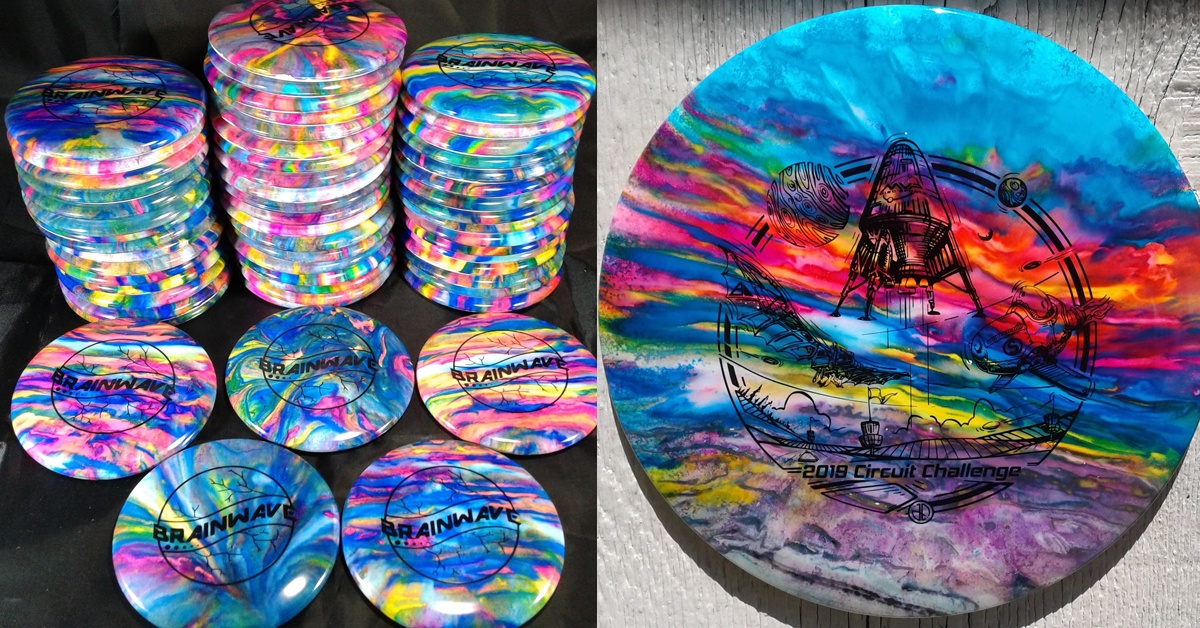
Disc golf is a fun and exciting sport. Many players want to customize their discs. One question often asked is, “Can I paint a disc golf disc?”
In this guide, we will explore this topic. We will discuss if it’s possible to paint a disc golf disc. We will also cover the best methods and tips for painting your disc.

Credit: www.facebook.com

Credit: udisc.com
Why Paint a Disc Golf Disc?
Painting a disc golf disc can be for many reasons. Here are a few:
- Personalize your disc to make it unique.
- Make your disc easier to spot on the course.
- Show off your creativity and style.
Before you start painting, it’s important to know if it’s allowed. Let’s find out!
Is It Allowed to Paint a Disc Golf Disc?
Yes, you can paint a disc golf disc. But there are some rules and guidelines to follow. The Professional Disc Golf Association (PDGA) has rules about disc modifications.
According to PDGA rules, you can modify your disc. But the disc must still be legal for play. This means the disc’s weight, diameter, and flight must not change.
Best Materials for Painting a Disc Golf Disc
Using the right materials is important. Here are some materials that work well for painting discs:
| Material | Description |
|---|---|
| Acrylic Paint | Water-based and easy to use. Dries quickly and is durable. |
| Fabric Paint | Flexible and won’t crack. Good for plastic surfaces. |
| Spray Paint | Even coverage. Choose a type that works on plastic. |
| Permanent Markers | Great for detailed designs. Use multiple colors. |
Steps to Paint a Disc Golf Disc
Follow these steps to paint your disc golf disc:
- Clean the Disc: Wash the disc with soap and water. Dry it completely.
- Sand the Surface: Lightly sand the disc. This helps the paint stick better.
- Apply Primer: Use a primer suitable for plastic. This ensures the paint adheres well.
- Paint the Disc: Use your chosen paint. Apply thin, even layers. Let each layer dry before adding more.
- Add Details: Use markers or fine brushes for details. Be creative!
- Seal the Paint: Use a clear sealant. This protects your design and makes it last longer.
Tips and Tricks for Painting a Disc Golf Disc
Here are some tips to help you get the best results:
- Practice: Practice on an old disc first. This helps you get the hang of it.
- Thin Layers: Apply thin layers of paint. This prevents drips and runs.
- Dry Time: Allow each layer to dry completely. This prevents smudging.
- Use Stencils: Use stencils for clean, sharp designs. This makes your work look professional.
- Seal It: Always seal your design. This keeps your artwork looking great.
Common Mistakes to Avoid
Here are some common mistakes and how to avoid them:
- Skipping Primer: Always use a primer. This ensures the paint sticks well.
- Rushing: Take your time. Rushing can lead to mistakes.
- Too Much Paint: Use thin layers. Too much paint can cause drips.
- Not Sealing: Always seal your design. This protects it from wear and tear.
Frequently Asked Questions
Can I Customize A Disc Golf Disc?
Yes, you can paint a disc golf disc to customize it.
What Paint Works Best On Discs?
Acrylic paint is ideal for disc golf discs.
Will Painting Affect Disc Flight?
Yes, paint can alter the disc’s weight and flight.
How Do I Prepare A Disc For Painting?
Clean the disc thoroughly before painting.
Conclusion
Painting a disc golf disc is a fun way to customize your gear. With the right materials and techniques, you can create a unique and durable design.
Remember to follow the steps and tips in this guide. This ensures your painted disc looks great and performs well on the course.
Now, grab your disc and get creative! Happy painting!
Leave a Reply